I started practicing handstands too early. My body wasn’t physically ready to carry my bodyweight upside down yet and I would get pain in my wrists that lasted a couple of days every time I’d practiced handstands. It’s super helpful to be able to assess if you’re ready for handstands and know which physical foundations you need to build before beginning to practice handstands. So you can practice handstands with ease and efficiency.
The journey to getting your first freestanding handstand
The journey to getting your first handstand can be incredibly empowering. You’ll build strength, mobility, balance, body awareness, and face your fears head-on. If you’ve decided you want to learn to handstand you’re probably raring to go and learn it. As in right now!
I feel you, I’ve been there!
Handstands are fun. They can be practiced by the wall first and later freestanding. But before both of those steps in the journey comes a foundational step, which might seem a little boring and way less flashy than those other two steps, but is oh so important to your overall handstand journey.
I see it happening a lot; people skipping over the foundational step in the handstand journey. Both due to the fact that we want to learn it as fast as possible but also because there’s an abundance of people out there showing the end result and not so many people showing the hard work and patience it took to get there.
Skipping some steps of the handstand journey might be fine, if you have a movement background where you’ve built some of the required strength and mobility to do a handstand in advance. But for most people, we need to work on the foundations for a little while before moving on to the actual handstand exercises. Because skipping the fundamentals in the handstand journey can be unproductive at best and cause injuries at worst and injuries will only slow down your progress even further.
Have I convinced you that practicing the fundamentals is important, yet? I hope so. Here’s how you can assess whether you’ve got sufficient strength and mobility to practice handstands yet.

Assess If You’re Ready To Practice Handstands
Perhaps you’re unsure whether you’re ready to move past the fundamentals and start going upside down by a wall or out in the open space yet? Below we’ll dive into the physical requirements needed to do a straight line handstand and how you can check whether you have the fundamental strength and mobility prerequisites needed to start practicing handstands.
Try out the exercises in the next sections and notice how they feel – easy, challenging, or somewhere in between? This should give you some idea of how much strength and mobility for handstands you have already and discover your weak spots that might need some extra practice before you can comfortably go upside down in a handstand.
Mobility Assessment
Handstand require very specific mobility in the wrists and the shoulders. We want to make sure our mobility in those areas is adequate before we start putting our full body weight on top of them.
wrist extension
Check your wrist extension:
Stretch out your arm in front of you and keep your elbow straight. Then bend at the wrist so the top of your hand lifts upward (wrist extension). Notice the angle between your forearm and your hand and compare it to the pictures below.

Severely lacking ability to extend the wrist
Adequate wrist extension
You don’t need perfect wrist extension to find balance in a handstand but it is something to aim for in the long run. The closer you are to 90 degrees the more efficient you will be in your handstands and the less likely you are to strain or injure your wrists in the process.
shoulder flexion
Check your shoulder flexion:
Engage your core and tuck your chest in slightly. Then straighten and lift your arms up overhead without arching your back. Notice the angle between your chest and your arms.
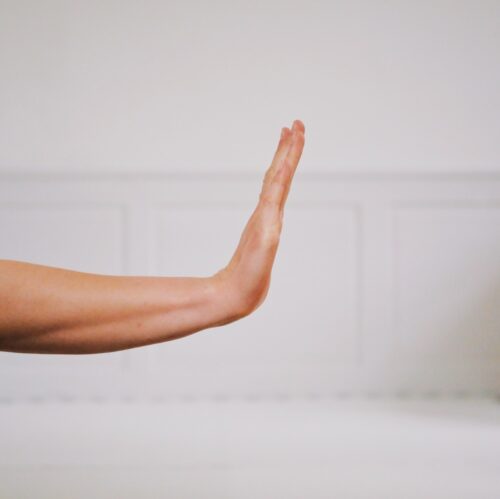
Lacking ability to flex the shoulder (overhead mobility)

Lacking ability to flex the shoulder and the compensation in the back caused by it
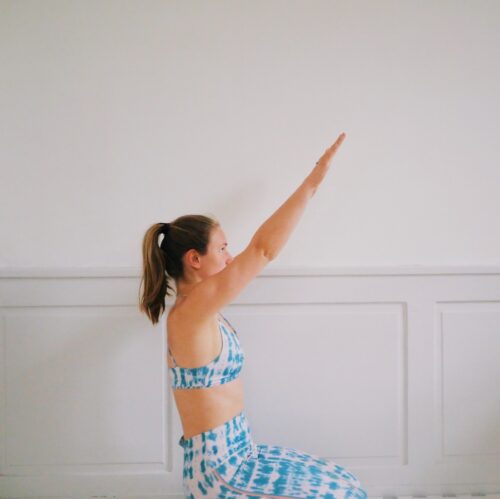
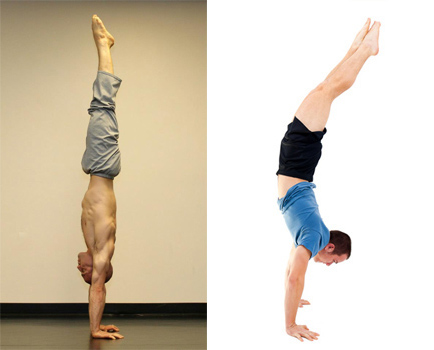
Adequate shoulder flexion / overhead extension
You don’t need perfect overhead mobility (shoulder flexion) to find balance in a handstand but it is something to aim for in the long run. The closer you are to 180 degrees the more straight your handstand will be (less banana shaped) and the more efficient you will be in your handstands. You are also less likely to strain your your back in the process due to compensation stemming from a lack of shoulder mobility.
Strength Assessment
Besides mobility handstands also require strength. Most importantly in the wrists and shoulders, but also the core, the bum, and inner thighs.
wrist strength
Check your wrist strength:
- 5-10x wrist push-ups
- 10-20 seconds active holds
- 5-10x roll back of hand into fist
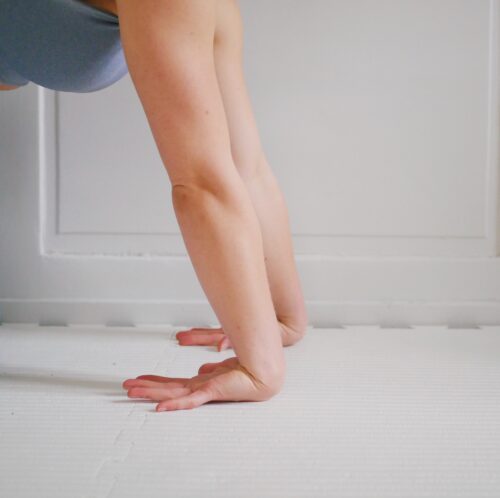
Wrist push-ups
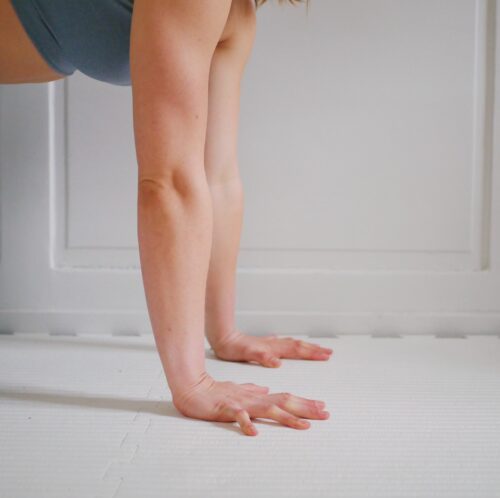
Start in a tabletop position with your palms grounded underneath your shoulders. Keep your fingers grounded whilst lifting the palm of your hands off the ground. The closer you walk your knees toward your wrists the easier it should feel.
Active wrist extension + flexion holds
Stretch your arm out in front of you. Bend at the wrist to lift the top of your hand up to face you. Hold it there and keep bending as much as you can keeping your fingers straight.
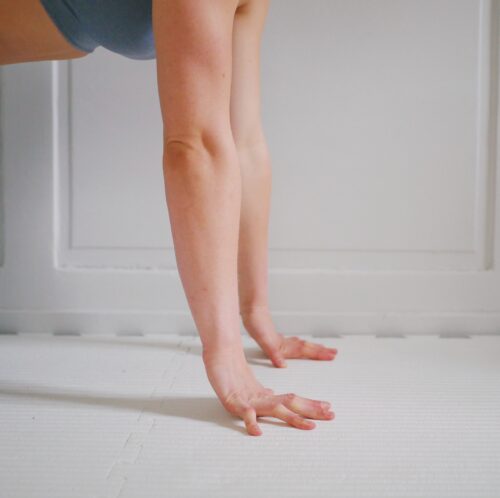
Roll back of hand into fist
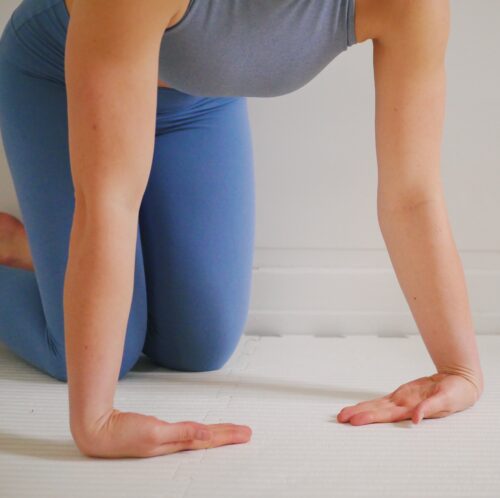
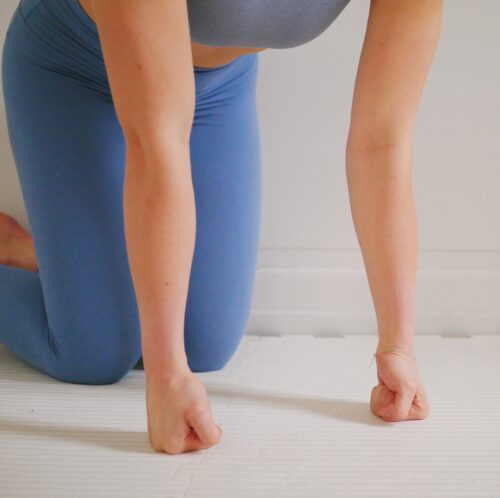
Start in a tabletop position. Bring your knees a little closer towards your hands and keep your shoulder stacked over your wrists. Place the tops of your hands into the ground with fingertips pointing toward each other. Then push into the back of your hands to roll your hands into fists.
shoulder strength
Check your shoulder strength:
- 5-10x shoulder push-ups
- 10-20 second piked stack drill
- 10-20 second plank on tops of feet
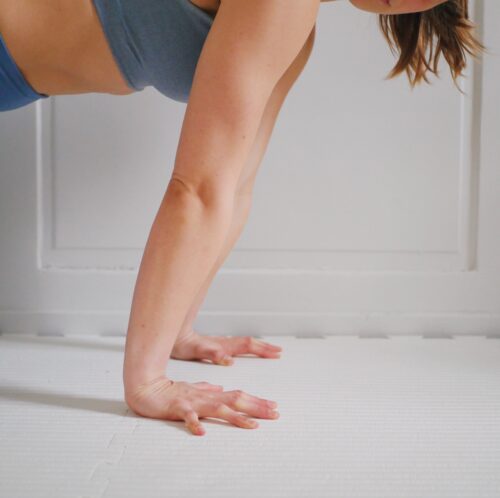
Shoulder push-ups
Start in a plank position with your hands placed shoulder width apart. Keep your legs straight and engaged. Push into your palms to lift the back of your heart towards the sky and spread your shoulder blades wide. Then release and sink down between your shoulder blades, collecting them on your back. Repeat this movement.
Piked stack drill

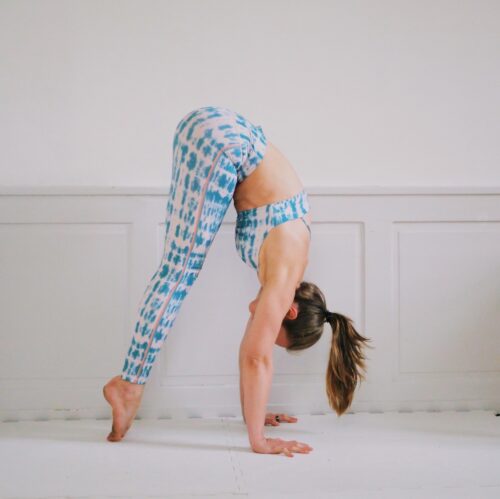
Sit on your shins and place your palms on either side of your knees shoulder width apart. Push into your hands, keeping your shoulders above your palms, and straighten your legs to send your hips up high. Keep your toes pointed on the floor. Round your upper back slightly and gaze between your feet. Hold this pose at the top or lift and lower from the seated position a couple of times.
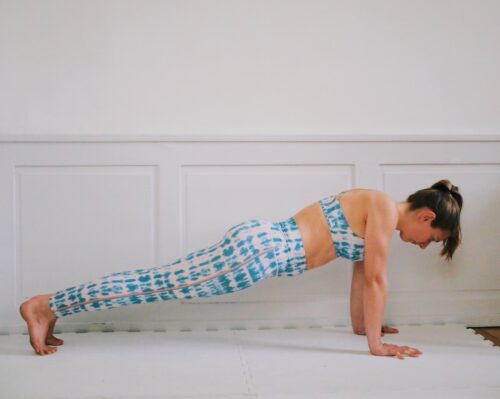
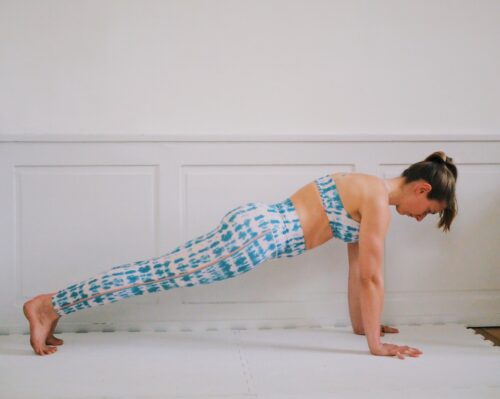
Plank on tops of feet
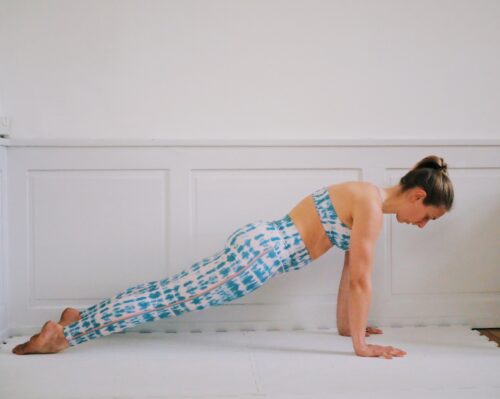
Start in a plank position with your hands shoulder width distance on the floor. Place the tops of your feet into the mat, squeezing your legs together and engaging your bum. Suck your ribs in and push the floor away as much as you can. Hold this pose keeping your shoulders above your palms and a straight line from your shoulders to your feet.
Hollowbody strength
Check your hollowbody strength:
- 5-10x hollow body tuck drill
- 5-10x dead bug crunches
- 10-20 second prone hollow body hold
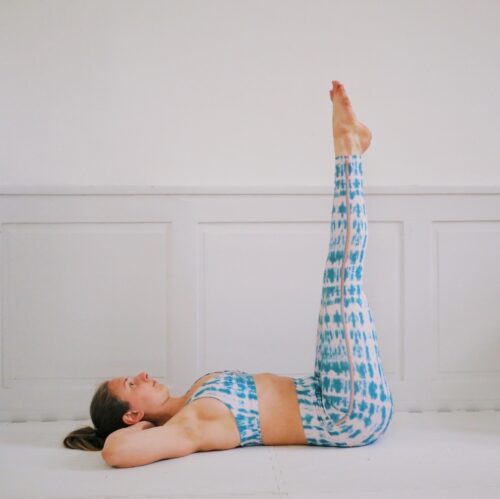
hollow body tuck drill

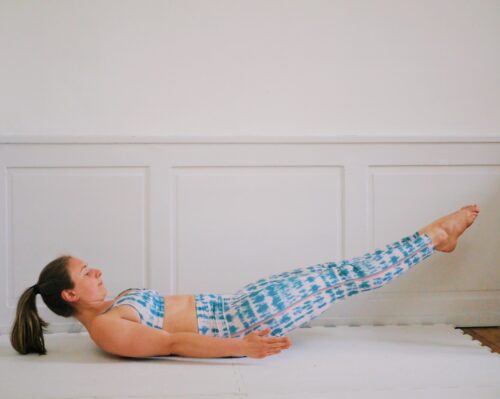
Start lying on your back with your knees tucked in to your chest and your arms straightened overhead. Squeeze your legs together and slowly straighten them out as close to the ground as possible whilst still keeping your lower back connected to the ground. Then slowly tuck them back in again.
dead bug crunches
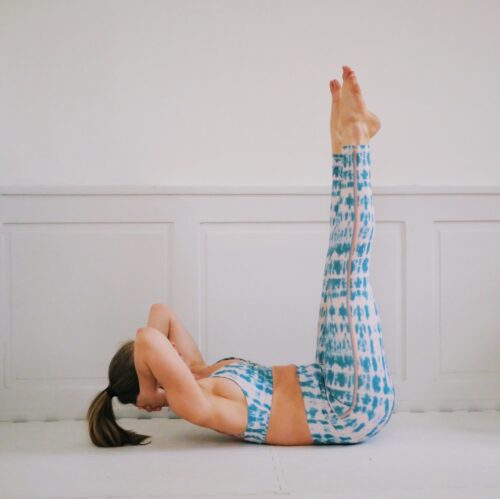
Lie on your back with your legs and arms lifted straight up. Lift your shoulder blades off the ground and your hips off the ground. Ideally whilst keeping your legs right above your hips and your arms right above your shoulders. Then lower your hips and shoulder blades back down again.
prone hollow body hold

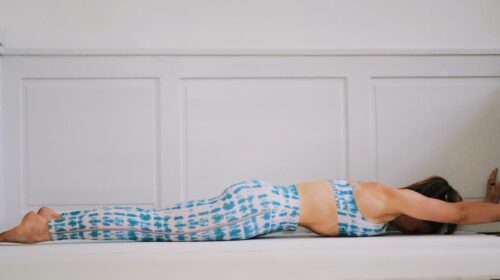
Lie on your belly with your arms reaching overhead and your wrists bent + fingers straight as though your were in a handstand. Squeeze your bum, squeeze your legs together, and point your feet. Then try to tuck your lower ribs in so they no longer touch the ground. Try to lift your arms off the ground too. Hold this position engaging your entire body.
If some of these exercises felt hard, don’t worry! I still struggle in some of these, but they are great for building your handstand foundations up. It’s also nice to do them regularly and notice how you improve with practice.
Practicing Handstands Without Proper Conditioning
” Is it dangerous to practice handstands before I have the mobility and strength foundations? “
I’ve seen many people try to perform a handstand before they had the optimal amount of strength and mobility for handstands yet. That will likely work fine as long as you’re not too far from the adequate amount needed!
As always, it all comes down to whether it feels good in your body. If your wrists or shoulders feel strained and overworked every time you practice handstands, perhaps that’s a sign you need to spend a little more time on building the foundations first.
I hope I’m not scaring you off from practicing handstands! I simply want to give you the tools you need to assess if you’re ready for handstands yet and to empower you to make the choice that feels right for you in your handstand practice.
I’m rooting for you!